Welcome to our guide on creating stunning DIY Decorative Sea Glass Balls! If you’re looking to add a touch of elegance and coastal charm to your home decor, you’ve come to the right place. Whether you’re a seasoned crafter or a beginner, this project offers endless possibilities for creativity. Let’s dive in and explore the beauty of DIY Decorative Sea Glass Balls that will surely impress both you and your guests.
Materials Needed for DIY Decorative Sea Glass Balls
To create stunning DIY Decorative Sea Glass Balls, you will need a variety of materials. Below is a detailed list of everything you will need to ensure a successful project:
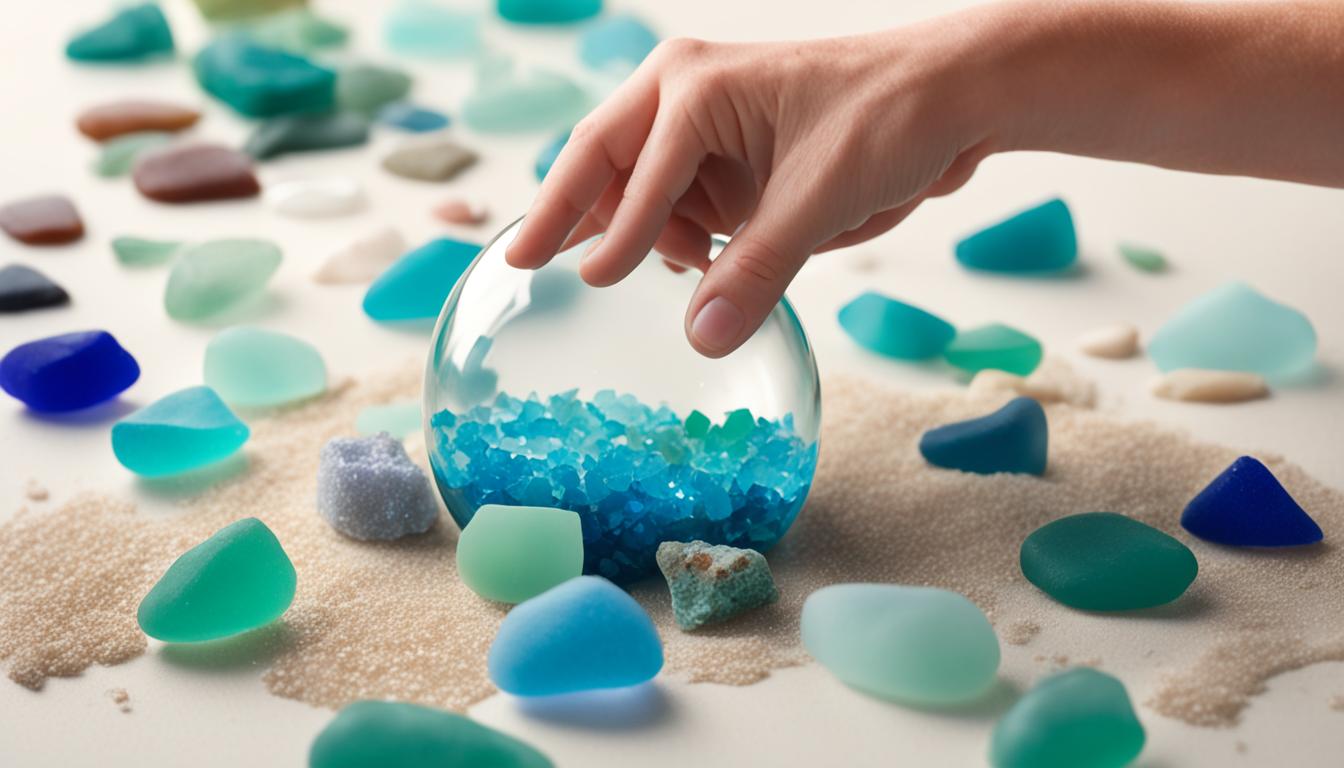
- Sea glass in assorted colors: Gather sea glass in different colors to add visual interest to your decorative balls. You can collect sea glass from beaches or purchase it from craft stores.
- Glass balls or ornaments: Choose clear glass balls or ornaments as the base for your sea glass creations. These can be found at craft stores or online.
- Epoxy adhesive: Use epoxy adhesive to securely attach the sea glass to the glass balls. This adhesive provides a strong and durable bond.
- Craft glue: Craft glue will come in handy for attaching any additional elements, such as ribbons or charms, to personalize your sea glass balls.
- Paintbrushes: Have a selection of paintbrushes in different sizes on hand to apply adhesive and glue.
- Protective gloves: It’s important to protect your hands while working with adhesives. Use latex or nitrile gloves to keep your skin safe.
- Paper towels or rags: Keep paper towels or rags nearby to clean up any spills or excess adhesive.
Now that you have a clear understanding of the materials required, you’re ready to embark on your DIY Decorative Sea Glass Balls project. Let your creativity shine as you transform these simple materials into beautiful and unique home decor pieces.

And here is the completed table, providing a visually appealing presentation of the material list:
| Materials | Description |
|---|---|
| Sea glass in assorted colors | Gather or purchase sea glass in various colors to add visual interest. |
| Glass balls or ornaments | Choose clear glass balls or ornaments as the base for your sea glass creations. |
| Epoxy adhesive | Use epoxy adhesive to securely attach the sea glass to the glass balls. |
| Craft glue | Attach additional elements, such as ribbons or charms, with craft glue. |
| Paintbrushes | Have a selection of paintbrushes in different sizes for applying adhesive and glue. |
| Protective gloves | Use latex or nitrile gloves to protect your hands while working with adhesives. |
| Paper towels or rags | Keep paper towels or rags nearby for cleaning up spills or excess adhesive. |
Step-by-Step Guide to Create DIY Decorative Sea Glass Balls
Creating your own DIY Decorative Sea Glass Balls is a fun and rewarding craft project that can add an elegant touch to your home decor. Follow our step-by-step guide below to achieve stunning results:
- Start by gathering all the necessary materials. You will need:
- Glass balls or ornaments
- Assorted sea glass pieces
- Transparent adhesive glue
- Paintbrush
- Ribbon or twine
“Be sure to use a transparent adhesive glue to maintain the natural beauty of the sea glass pieces.”

By following this step-by-step guide, you can create stunning DIY Decorative Sea Glass Balls that will add a touch of elegance to your home decor. Get creative with your designs and experiment with different colors and patterns of sea glass to personalize your creations. Happy crafting!
Tips for Personalizing Your DIY Decorative Sea Glass Balls
Creating DIY Decorative Sea Glass Balls is not only a fun craft project but also an opportunity to add a personal touch to your home decor. Here are some creative tips to help you personalize your sea glass balls:
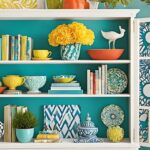
1. Explore Different Colors and Patterns: Experiment with a variety of sea glass colors to create unique and vibrant designs. Consider using monochromatic shades for a sleek and modern look, or mix complementary colors for a more eye-catching effect. You can also incorporate different patterns by arranging the glass pieces in specific shapes or creating intricate mosaics.
2. Add Embellishments: Take your sea glass balls to the next level by adding embellishments. Consider using raffia, twine, or ribbon to wrap around the ball, adding texture and visual interest. You can also glue on small seashells, beads, or pearls for a touch of elegance. Let your creativity run wild and experiment with various materials to achieve the desired effect.
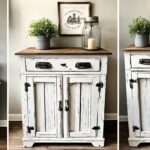
3. Match Your Home Decor Theme: Personalize your sea glass balls by incorporating them into your existing home decor theme. For a coastal-inspired look, use shades of blue or turquoise sea glass and display the balls in a glass bowl filled with sand. If your decor style is more rustic, consider using earth tones and showcasing the balls on a wooden tray or shelf. The key is to create a cohesive look that seamlessly blends the sea glass balls into your overall aesthetic.