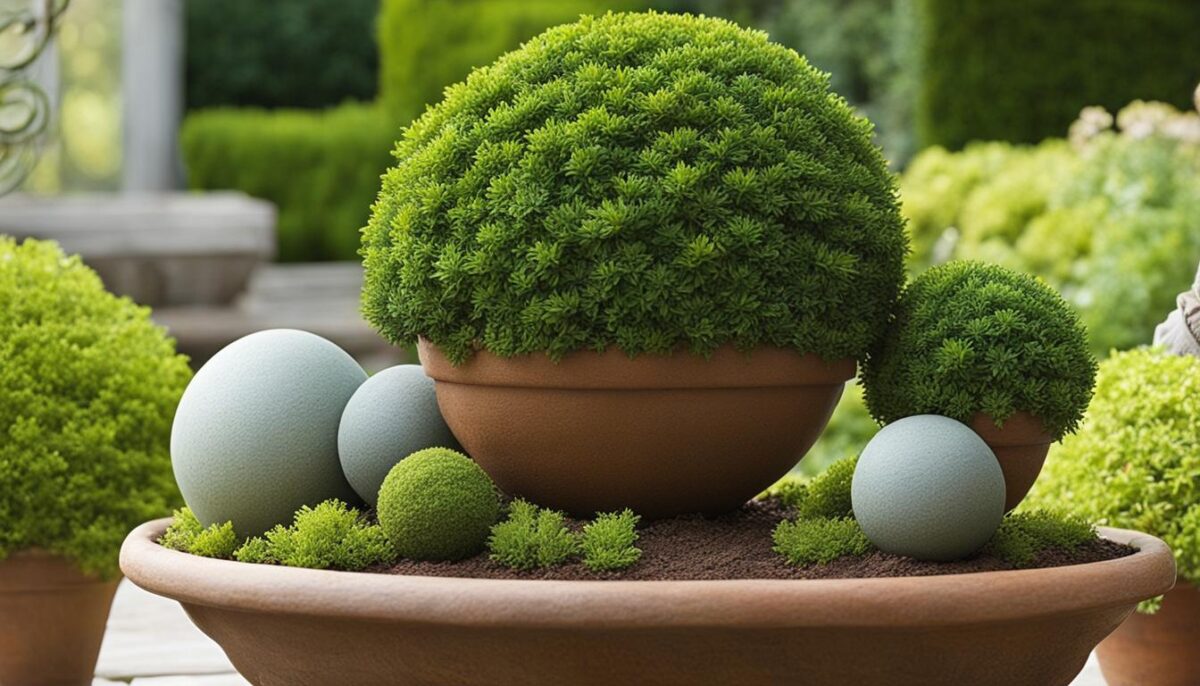
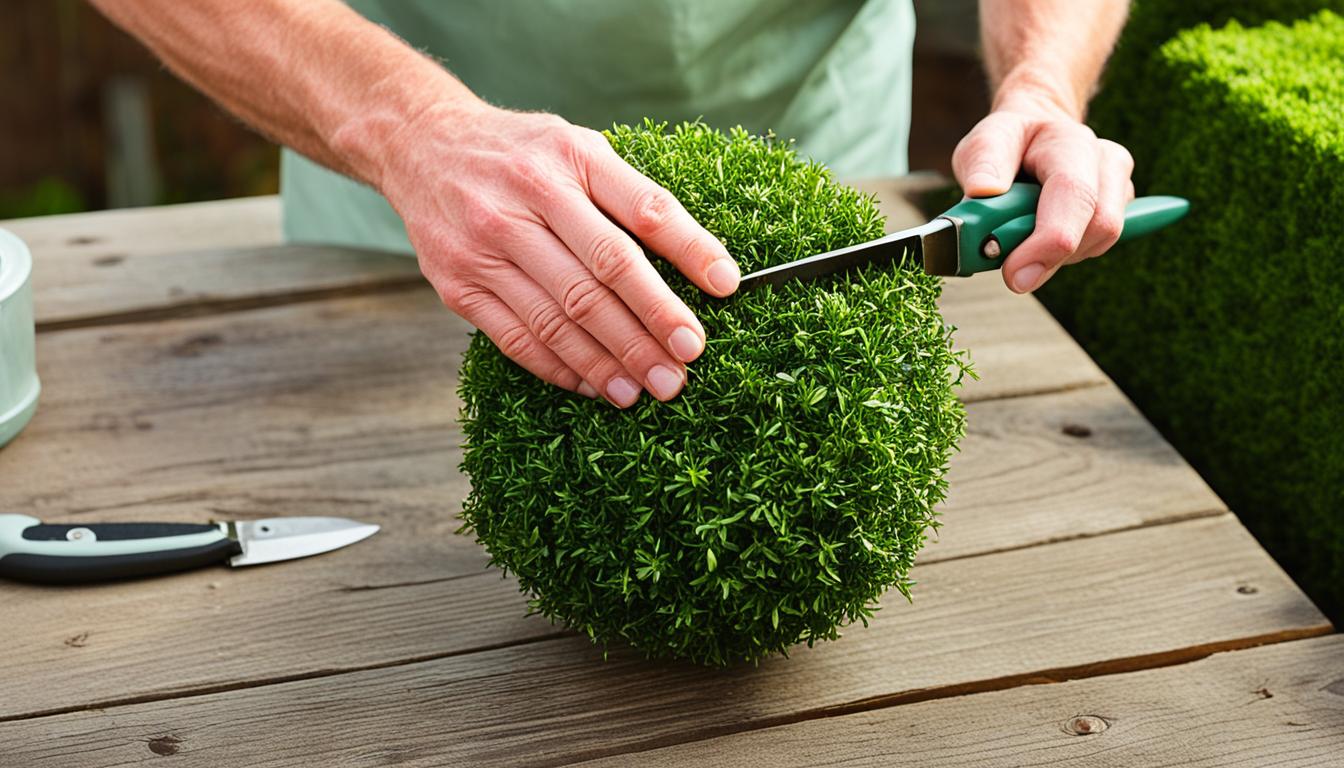
Welcome to our easy-to-follow tutorial on how to create beautiful mini topiaries! Whether you’re looking to add a touch of elegance to your home decor or make heartfelt gifts for your loved ones, this tutorial will guide you through the step-by-step process of crafting these charming decorations.
By the end of this tutorial, you’ll have the skills to create mini topiaries that are both visually stunning and a source of pride. So let’s get started on this mini topiary adventure!
Gathering the Materials
Before you dive into creating your own mini topiaries, it’s essential to gather all the materials you’ll need for this delightful project. Having everything on hand will ensure a smooth and enjoyable crafting experience. Here are the essential supplies and tools you’ll need:
Materials for Mini Topiaries:
- Foam balls
- Craft sticks
- Floral moss
- Glue
- Scissors
- Wire (optional)
- Decorative embellishments (flowers, ribbons, etc.)
Mini Topiary Supplies:
- Wire cutters
- Hot glue gun
- Floral tape (optional)
- Paint or spray paint (if desired)
By ensuring you have all these materials, you’ll be fully equipped to tackle the mini topiary project. Feel free to collect any additional decorations or supplies based on your creative vision.
Now that you have gathered all the necessary materials, let’s move on to the next section where we’ll guide you through the process of creating the mini topiary form.

Creating the Mini Topiary Form
Now that you have gathered all the necessary materials, it’s time to start shaping and forming the mini topiary structure. This step is crucial to ensure that your mini topiaries have a well-defined and appealing shape.
Shaping the Foam Ball
To begin, take the foam ball and carefully mold it into the desired shape. Whether you prefer a classic round form or a more creative geometric shape, gently shape the foam ball with your hands until you achieve the desired look.
Remember to take your time and be patient during this process. It’s important to create a smooth and even surface on the foam ball, as this will provide a solid base for the foliage or decorations you will be adding later.
Attaching the Foam Ball to the Craft Stick
Once you have shaped the foam ball, it’s time to attach it to the craft stick. Apply a generous amount of glue to the end of the craft stick and carefully insert it into the bottom of the foam ball. Hold the foam ball and craft stick together firmly for a few minutes to allow the glue to dry and secure the bond between them.
Ensure that the craft stick is centered and securely attached to the foam ball. This will provide stability and allow you to easily handle and display your mini topiary.
Securing the Base
To ensure that your mini topiary stands upright, it’s important to secure the base. Take a small container or pot and fill it with floral foam or any other stable material that will hold the craft stick in place.

Insert the craft stick into the container or pot, making sure it stands straight. You can further secure the craft stick by adding some additional glue or hot glue around the base to provide extra stability.
Once the base is secure, you can start decorating and adding the finishing touches to your mini topiary. This will bring your creation to life and enhance its overall appearance.
| Materials | Suppliers |
|---|---|
| Foam balls | Art & Craft Supply Store |
| Craft sticks | Online Craft Store |
| Glue | Local Craft Store |
| Small container or pot | Home & Garden Store |
| Floral foam | Florist Supplies Shop |
Decorating and Finishing Touches
Now that you have successfully created the form for your mini topiaries, it’s time to add some personality and charm to your creations. Decorating mini topiaries is where you can truly let your creativity shine. Whether you prefer a more minimalist and elegant style or a vibrant and whimsical look, there are endless possibilities to explore.
One way to decorate your mini topiaries is by adding embellishments such as preserved or artificial greenery. You can choose from a variety of options including small leaves, vines, or even tiny flowers. Carefully attach these elements to the foam ball using glue or floral wire, ensuring they are evenly distributed around the topiary. This will give your mini topiary a natural and lush appearance.
Another great way to enhance the overall look of your mini topiaries is by incorporating ribbons or bows. Choose ribbons in colors and patterns that complement your existing décor or theme. You can tie them around the craft stick or create a small bow at the top of the foam ball for a charming touch. This simple addition can instantly elevate the visual appeal of your mini topiary.
Don’t forget about adding finishing touches to your topiary. You can paint the craft stick in a coordinating color or wrap it with decorative washi tape. This small detail will give your mini topiary a polished and cohesive look. Additionally, consider placing your finished topiaries in decorative pots or containers to further enhance their aesthetic appeal.
With these decorating ideas and tips, you can bring your mini topiaries to life and create stunning decorative pieces for any occasion. Whether you’re looking to spruce up your home, celebrate a special event, or give a thoughtful gift, your decorated mini topiaries will be sure to impress. Get creative and have fun adding those final touches to your mini topiaries!


